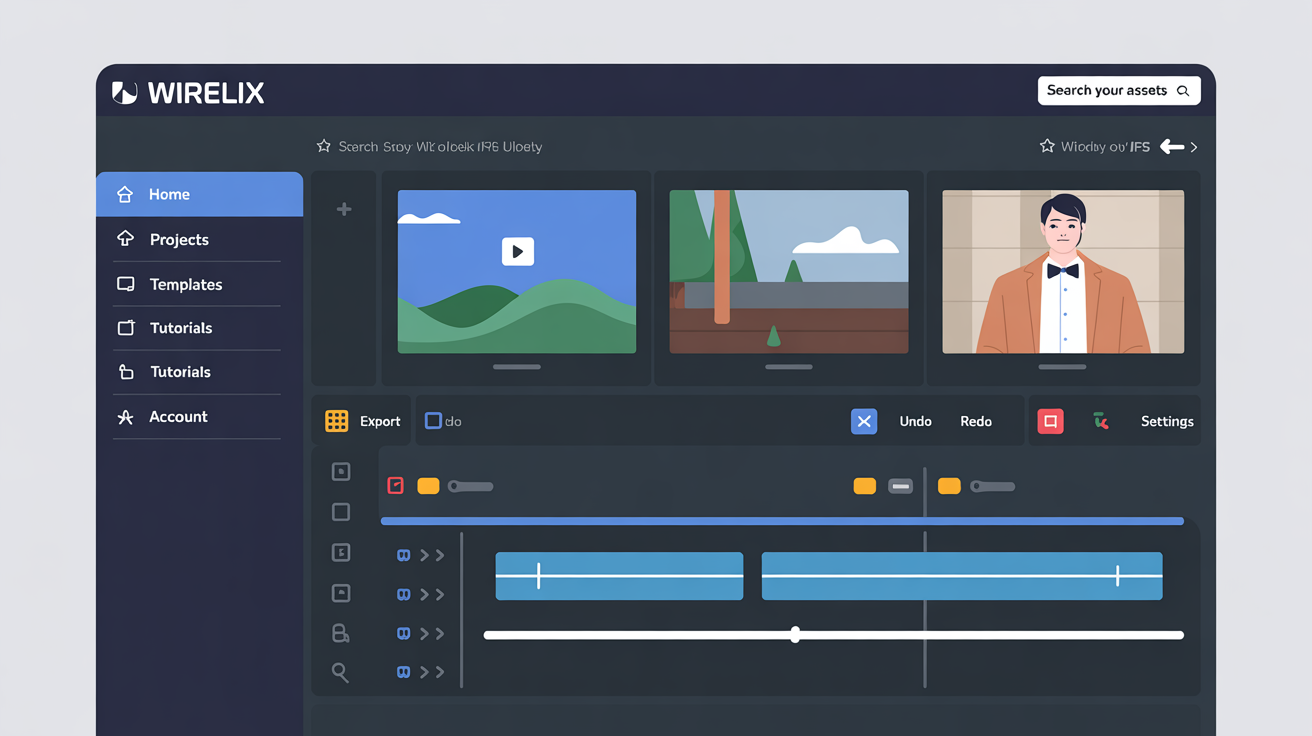
Step 1: Launching Wirelix and Reaching the Settings Area
Start by opening Wirelix from your desktop or applications menu. The app loads quickly with a clean view of your main workspace. Look for the small gear icon in the upper corner. Click it to enter the settings area where all adjustments live. This spot holds everything from basic looks to deeper behaviors. Take a moment to scan the tabs across the top. They separate topics so nothing feels crowded. On Windows the path feels familiar while Linux users see the same layout with native touches. Both systems keep the process straightforward and inviting.
Step 2: Setting Core Preferences for Everyday Comfort
Move to the first tab labeled Basics. Here you decide how the app greets you each time it starts. Choose your preferred language from the dropdown list so menus read naturally. Next adjust the theme colors to match your screen style. Pick a soft background that reduces eye strain during long sessions. Under display options set the default window size so it opens just right without extra clicks. Use the sample preview box to test changes live. Save these picks by hitting the apply button at the bottom. The app updates instantly and keeps your choices for future launches. This step builds the foundation that makes Wirelix feel like part of your home setup.
Step 3: Fine Tuning Behavior Controls on Windows
Switch to the Behavior tab and focus on Windows specific items. Enable auto save so your work stays protected during power dips. Set the notification level to show only important alerts. Scroll down to keyboard shortcuts and assign quick keys for frequent tasks. Test one by pressing the new combination and watching the action happen. Linux users skip this section but can review similar options later. Add a custom folder path for saving exports using the browse button. Confirm the path works by creating a small test file. These tweaks keep the app responsive and match how you already work on your machine.
Step 4: Adjusting Advanced Options for Linux Users
Shift to the Advanced tab where Linux details appear. Pick your terminal command style if you run scripts alongside the app. Set resource limits so Wirelix stays light on system load. Enter path variables for linked tools using the text fields provided. Review the log level choice and lower it for quieter operation. Apply changes and restart the app once to lock them in. Cross check with your Windows setup to keep both platforms aligned. This careful attention brings fresh control without extra complexity.
Step 5: Reviewing Changes and Wrapping Up
Return to the main view and test the new settings in action. Create a quick sample project to confirm everything responds as expected. If something feels off revisit the tabs and tweak one item at a time. The app stores all values safely so you never start from scratch. Close the settings panel and enjoy the updated flow. Regular checks every few weeks keep the experience sharp. Your configured Wirelix now runs with a personal touch that supports steady progress.